Quick Facts
- Installation Time: Under 15 minutes for a complete DIY setup
- Efficiency: 1 hour of sun powers 24 hours of monitoring using SolarEase technology
- Field of View: Up to 180-degree field of view with dual-lens panoramic options
- Storage: Local microSD storage with no subscription required for high-res recording
- Battery: 7,800mAh rechargeable battery with up to 90 days of backup power
- Connectivity: Advanced Wi-Fi 6 connectivity for faster and more stable data streaming
To install a Reolink solar security camera, mount the bracket to a surface with direct sunlight exposure using the included screws. Attach the camera and solar panel to their mounts, ensuring the panel is angled toward the sun for optimal charging. Complete the setup by connecting the device to your Wi-Fi network via the Reolink mobile app to configure AI-powered person detection and local storage settings.
The Efficiency Edge: Why Solar is the Future of Home Security
For years, the biggest hurdle in home security was the wiring. Crawling through attics or drilling through brick walls turned many homeowners away from effective surveillance. Today, the landscape has shifted dramatically. I have seen a massive rise in the solar security camera market because it solves the power problem without the aesthetic or structural headache of cables. In fact, DIY setup has overtaken professional installation in the home security market, with 49% of alarm system users choosing to install their own devices.
The modern solar security camera is no longer just a "budget" alternative to wired systems; it is a technological powerhouse. For instance, Reolink systems utilizing SolarEase technology are incredibly efficient. These units can generate 24 hours of monitoring power from just one hour of sunlight exposure. This efficiency means that even in less-than-perfect weather, your home remains protected. Furthermore, by opting for a no subscription outdoor security camera, you are escaping the "subscription fatigue" that plagues the modern consumer. Instead of paying ten dollars a month for the privilege of seeing your own footage, Reolink models utilize local microSD storage to keep your data under your roof and your wallet closed.
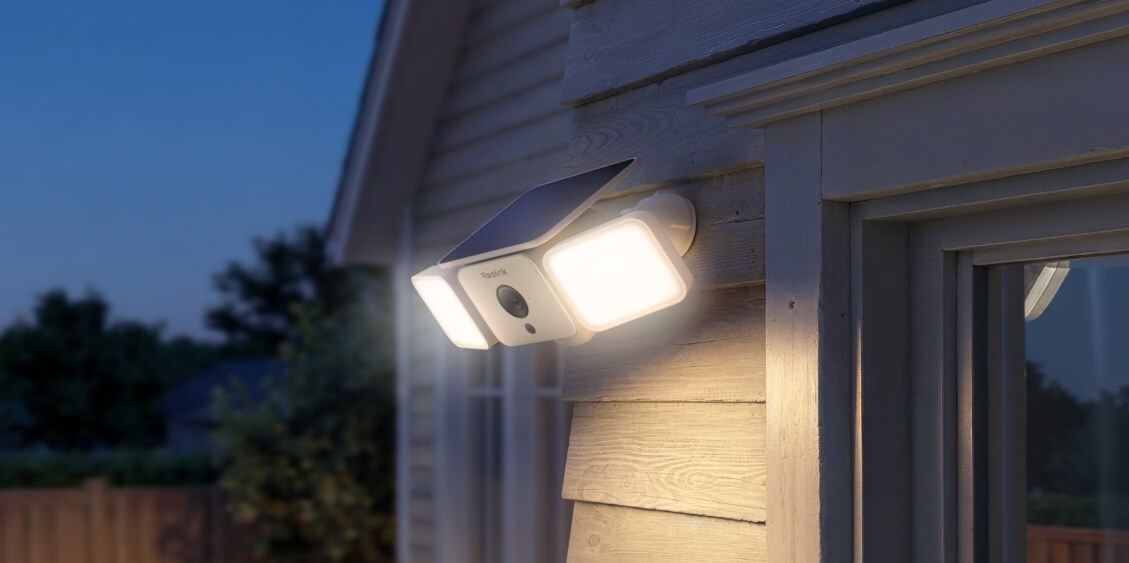
Active deterrence is another area where these units shine. Unlike passive cameras that simply record a crime, a motion sensor solar floodlight camera acts as a first responder. Equipped with a 1000-lumen floodlight and a 110dB siren, these devices can be set to trigger as soon as AI-powered person detection identifies a trespasser. This is a game-changer for driveways and dark side yards where a burst of light is often enough to send an intruder running before they even reach your door.
Step-by-Step Guide: How to Install Reolink Solar Cam in 15 Minutes
One of the most impressive things about the Reolink ecosystem is the speed of deployment. I recently timed a setup of the Reolink Argus 4 Pro, and it lived up to the hype. The installation of Reolink solar-powered security cameras is a simple DIY project that typically takes under 30 minutes to complete. Follow these steps to get your system up and running.
Prepare the Foundation
Before you climb a ladder, start by downloading the Reolink mobile app on your smartphone. I always recommend syncing your camera to your Wi-Fi 6 connectivity while you are sitting in your living room. Simply turn on the camera, follow the voice prompts, and scan the QR code on the device. This ensures the Wi-Fi handshake is successful before you mount it twenty feet in the air.
Mounting Bracket Assembly
Once the digital handshake is done, it is time for the physical work. Choose a location that offers a clear view of your target area and, more importantly, a clear path for the solar panel to reach the sun. Use the mounting template provided in the box to drill your pilot holes. The weather-resistant housing is designed to withstand the elements, so do not be afraid to place it in exposed areas. Attach the mounting bracket assembly to the wall or eave using the included screws.
Final Placement and Connection
Slide the camera onto its mount and tighten the security screw. Next, mount the solar panel nearby. Reolink provides a long cable, so the panel does not have to be right next to the camera if a nearby spot gets better sun. Plug the USB-C cable into the camera’s power port, ensuring the rubber gasket is seated firmly to maintain the IP67 waterproof rating. Once connected, your 7,800mAh rechargeable battery will begin its first charge cycle.
| Feature | Reolink Argus 4 Pro | Standard Solar Camera |
|---|---|---|
| Resolution | 4K UHD | 1080p or 2K |
| Field of View | 180-degree field of view | 90 - 120 degrees |
| Night Vision | Color night vision (no IR) | Black & White (IR only) |
| Connectivity | Wi-Fi 6 connectivity | Wi-Fi 4 or 5 |
| Floodlight | 1000-lumen floodlight | None or < 300 lumen |
| Storage | Local microSD storage | Cloud-only (Fee-based) |
Optimization: How to Mount for Maximum Sunlight and Battery Life
Installing a solar security camera is easy, but optimizing it for year-round performance requires a bit of strategy. The goal is to ensure your direct sunlight exposure is maximized, especially during the shorter days of winter.
Pro Tip: If you live in the Northern Hemisphere, always angle your solar panel toward the South. A tilt of 30 to 45 degrees is generally the sweet spot for catching the sun as it moves across the sky.
Maintaining battery life on solar powered outdoor cameras is a balance between energy intake and consumption. Even the best solar security camera with no monthly fees can struggle if it is triggered five hundred times a day by a swaying tree branch. This is where AI-powered person detection becomes vital. By navigating to the Reolink mobile app settings, you can filter motion alerts to only trigger for people or vehicles. This significantly reduces the power drain on the 7,800mAh rechargeable battery.
If you live in a particularly cloudy region, do not panic. Certain Reolink solar cameras can maintain a sufficient battery charge in motion detection mode with as little as 10 minutes of direct sunlight per day. To further extend longevity, you can adjust the floodlight brightness and the duration of the recording clips. For the best results, use the smart home integration features to schedule your camera to only be fully active when you are away or asleep.
Best Practices: Scenarios for Driveways and Entrances
When it comes to outdoor solar camera installation tips for driveways, coverage is king. A traditional camera often leaves "blind spots" at the edges of your property. This is why I am such a fan of the 180-degree field of view found on newer dual-lens models. A single unit placed above a garage door can see from one property line to the other, capturing every detail in high resolution.
For front entrances, the focus shifts to color night vision. Most crimes happen under the cover of darkness, and grainy black-and-white footage is rarely helpful for identification. By utilizing a motion sensor solar floodlight camera, you get a clear, full-color image of anyone approaching your porch. The 1000-lumen floodlight not only provides the camera with enough light for high-quality recording but also lights the way for you when you come home late with groceries.
Remember to utilize the local microSD storage to its full potential. High-end Reolink cams support up to 256GB cards, which can store weeks of motion-triggered events. This ensures that even if your Wi-Fi drops momentarily, the camera continues to record locally, providing a seamless smart home integration experience that prioritizes security over cloud convenience.
FAQ
Do solar security cameras work at night?
Yes, solar security cameras work at night by drawing power from their internal rechargeable battery, which was charged during the day. Most Reolink models feature color night vision and integrated floodlights to provide high-quality footage even in total darkness.
Are solar powered security cameras worth it?
Solar powered security cameras are highly worth it for users who want a DIY wireless security camera installation without the hassle of running power cables. They offer significant cost savings by eliminating professional installation fees and monthly subscription costs through local microSD storage.
Do solar cameras work on cloudy days?
Solar cameras still function on cloudy days because they can harvest energy from indirect sunlight. While the charging rate is slower than on a sunny day, the high-capacity batteries and efficient power management allow the camera to operate for weeks even with minimal sun.
How many hours of direct sunlight does a solar security camera need?
Most efficient solar security camera models only need about 1 to 2 hours of direct sunlight per day to stay fully charged for standard motion-detection use. Some advanced models can maintain their charge with as little as 10 minutes of direct exposure daily.
Can a solar panel be mounted away from the security camera?
Yes, you can mount the solar panel away from the camera. Most Reolink solar cams come with a 4-meter cable, allowing you to place the camera in a shaded area (like under an eave) while positioning the panel on a roof or pole that receives better sunlight exposure.