Quick Facts
- Cost Savings: DIY builds typically save 20-30% compared to pre-assembled retail systems.
- Build Time: First-time PC builders are frequently advised to allot 6 to 8 hours for their project to account for physical assembly, troubleshooting, and operating system installation.
- Memory Sweet Spot: In 2025, industry experts identify 32GB of DDR5 RAM as the performance sweet spot for new custom PC builds to meet the demands of modern gaming and professional applications.
- Failure Prevention: Statistics show that 78% of initial boot failures are resolved simply by re-checking cable and RAM connections.
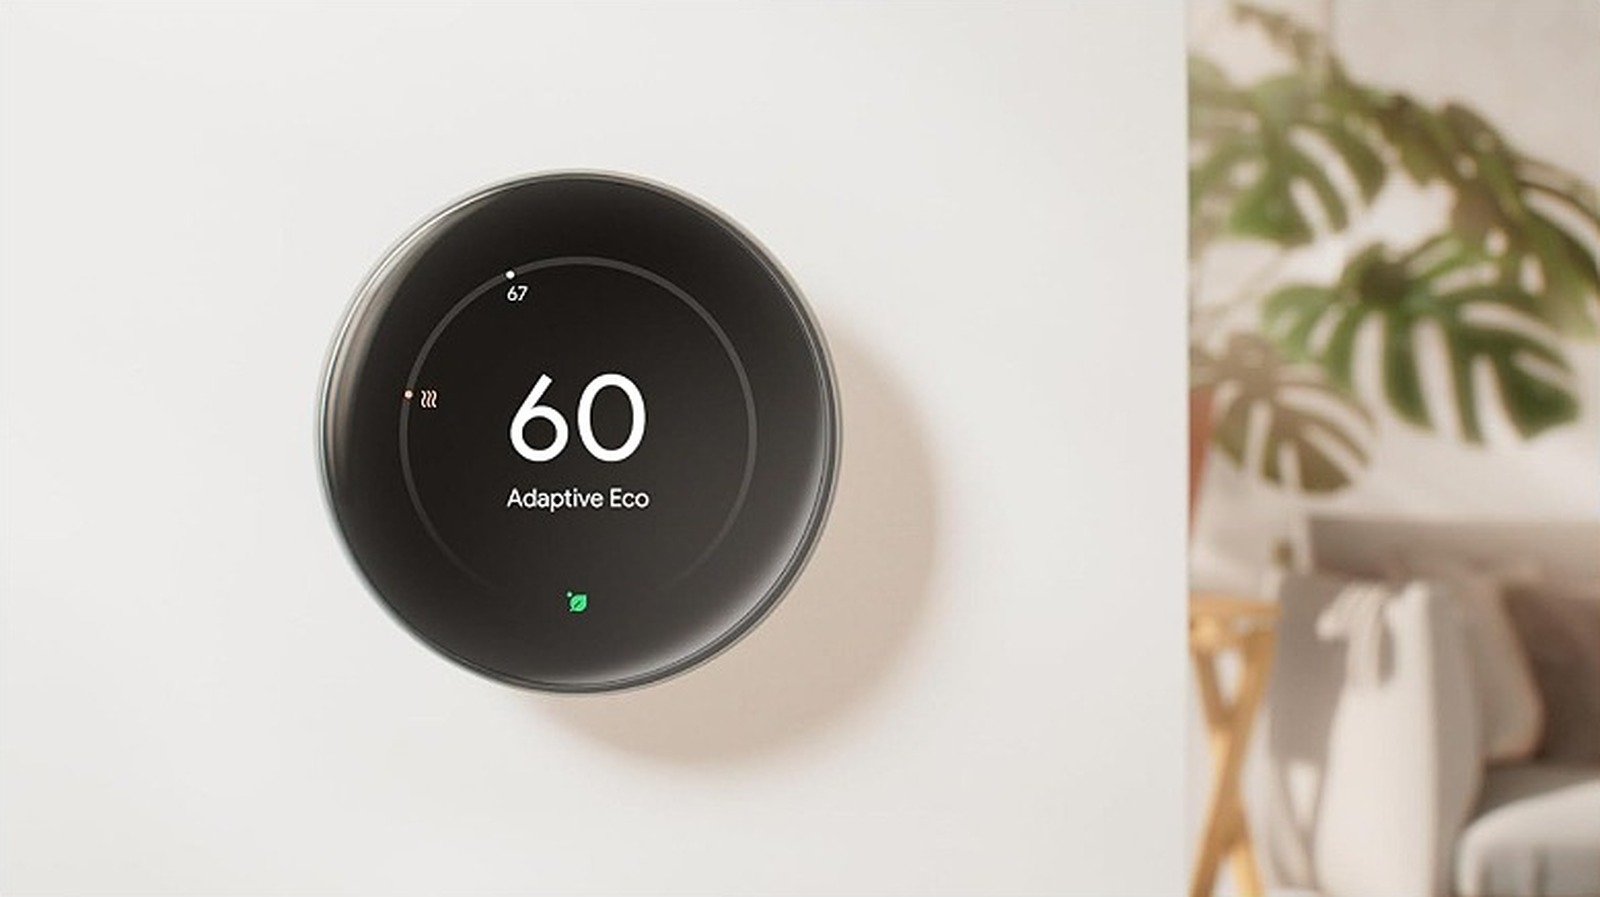
- Efficiency Standard: Look for 80 Plus Ruby power supplies as the emerging gold standard for 2026 builds.
- Market Growth: The custom PC building market experienced a 28% year-over-year increase globally in 2024, with the gaming community accounting for approximately 42% of all custom builds.
Build your dream rig with confidence. These 10 essential pc building tips cover everything from avoiding common pc building mistakes to advanced airflow setup for 2026 hardware. First-time builders should avoid common mistakes like forgetting the I/O shield, failing to fully seat RAM until it clicks, or missing the 8-pin CPU power connector. To simplify troubleshooting, perform a Power-On Self-Test (POST) by assembling the CPU, RAM, and GPU on the motherboard box before installing them into the case. This ensures all components are functional before you commit to final cable management.
Choosing Components: Beyond the Specs
When you first dive into choosing pc components, it is easy to get lost in a sea of clock speeds and core counts. However, the secret to a balanced build lies in avoiding system bottlenecking. You do not want a flagship RTX 50-series GPU paired with an entry-level processor that cannot keep up. I always recommend a tiered budgeting approach: an entry-level build starts at around $600, mid-range at $1000, and high-end rigs at $2000 or more.
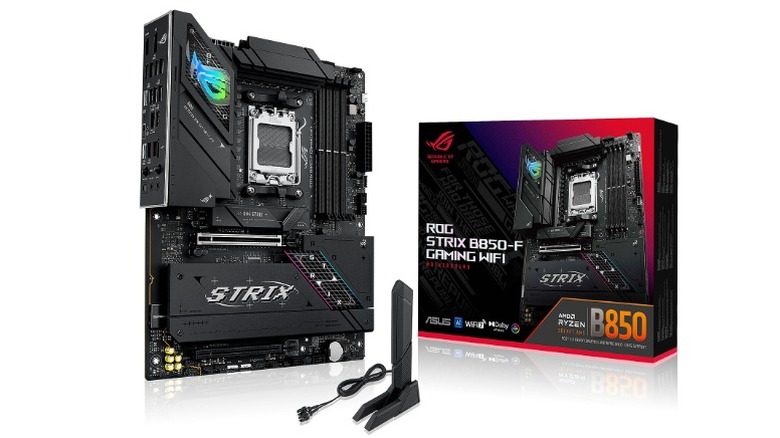
For 2026, compatibility is king. Ensure your motherboard supports the latest standards like PCIe 5.0 for next-gen storage and DDR5 memory. While flagship Z-series boards look impressive, B-series motherboards are often the price-to-performance sweet spot for most users. One of the most critical decisions is the power supply. Understanding how to choose the right psu wattage for a gaming pc involves more than just looking at the total; you should aim for a unit that operates at 50-70% capacity under load to maximize 80 Plus efficiency and longevity. Also, consider the physical size of your parts—mixing ATX and ITX standards is a common headache for beginners who realize too late that their motherboard will not fit the case. Lastly, ensure you have enough NVMe storage lanes available so your lightning-fast SSDs are not throttled.
The Golden Rule: The Out-of-Case POST Test
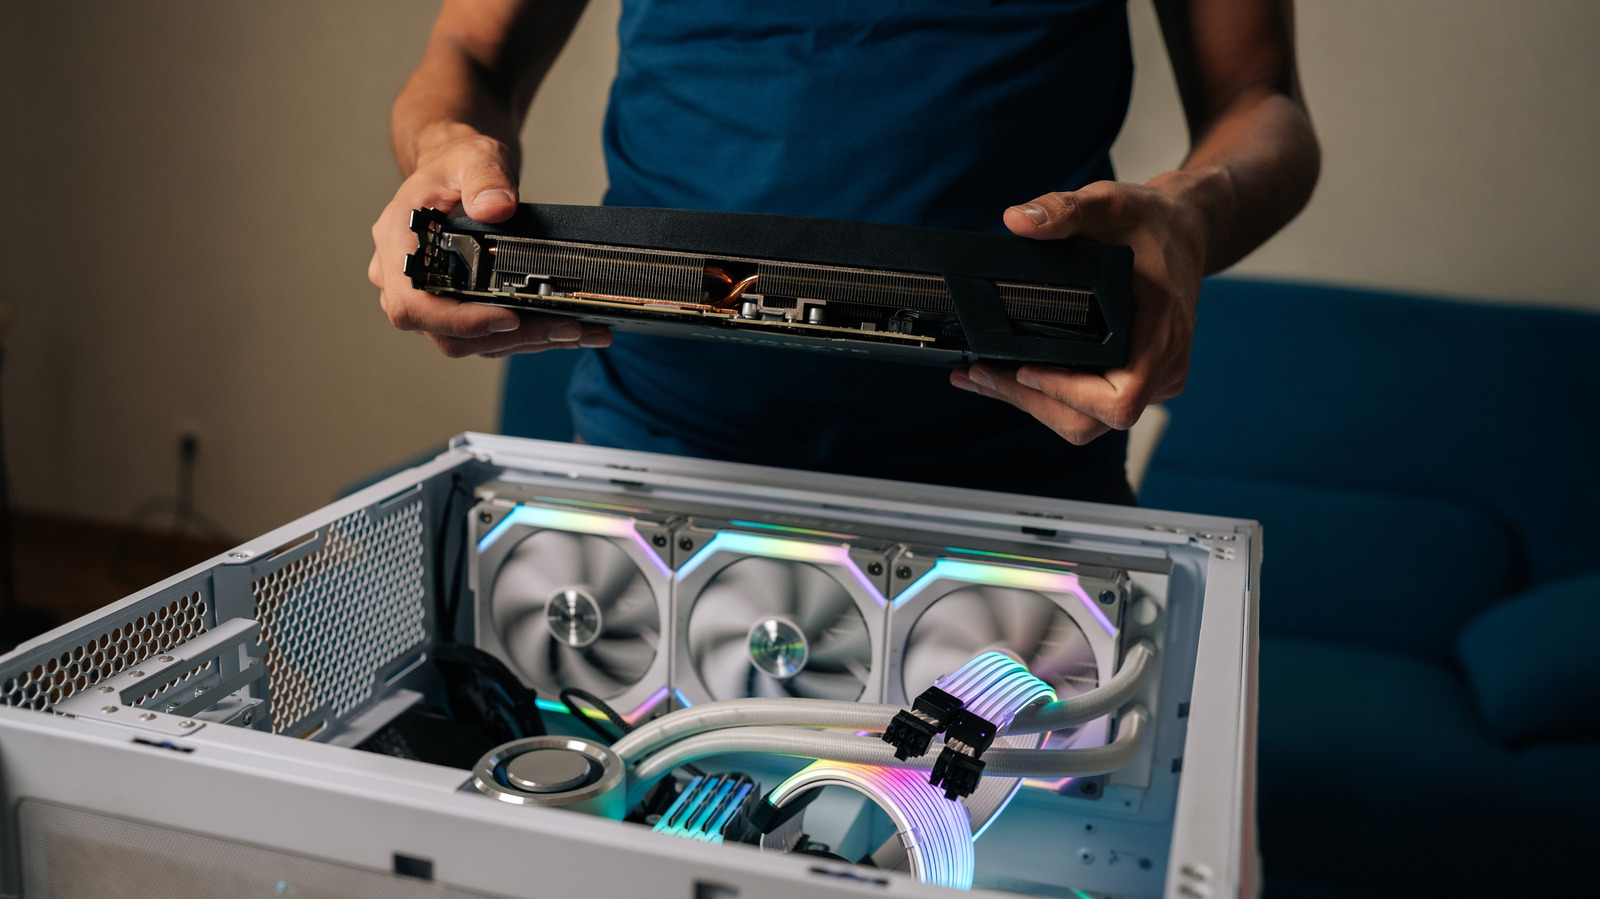
There is nothing more soul-crushing than spending four hours on meticulous Cable routing only to find the computer will not turn on. This is why you must learn how to perform a motherboard post test outside the case. I call this breadboarding. Before the motherboard ever touches a case standoff, place it on top of its own cardboard box—never on the anti-static bag, which can actually be conductive on the outside.
Install the CPU, a single stick of RAM, and the GPU. Connect the power supply cables to the 24-pin motherboard header and the 8-pin CPU power socket. Use a screwdriver to briefly bridge the two power switch pins on the front panel header to turn it on. If everything is working, you will see the BIOS screen or hear a successful beep. If it fails, look at the Debug LED codes on the motherboard; these little lights will tell you if the issue is the RAM, the CPU, or the VGA. Catching a Dead-on-Arrival (DOA) part now saves you from a full teardown later.
Pro-Tip: The POST Checklist
- Use the motherboard box as a non-conductive test bench.
- Connect only essential components: CPU, one RAM stick, and GPU.
- Plug in both the 24-pin main power and the 8-pin CPU power.
- Look for Debug LED codes to verify the system is passing its self-test.
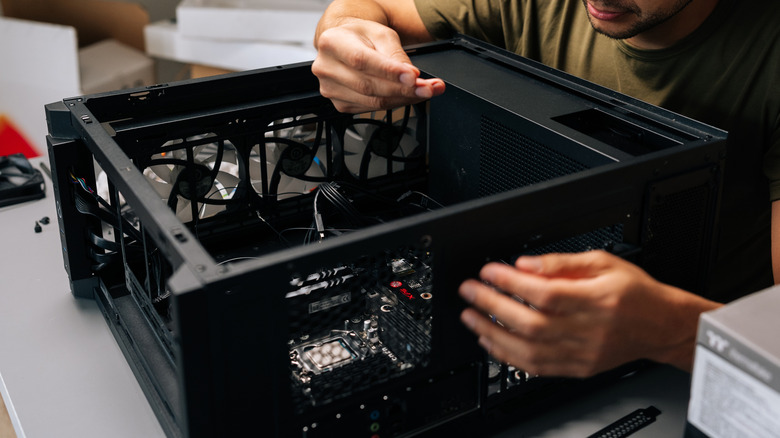
Physical Assembly: The Tactile Checklist
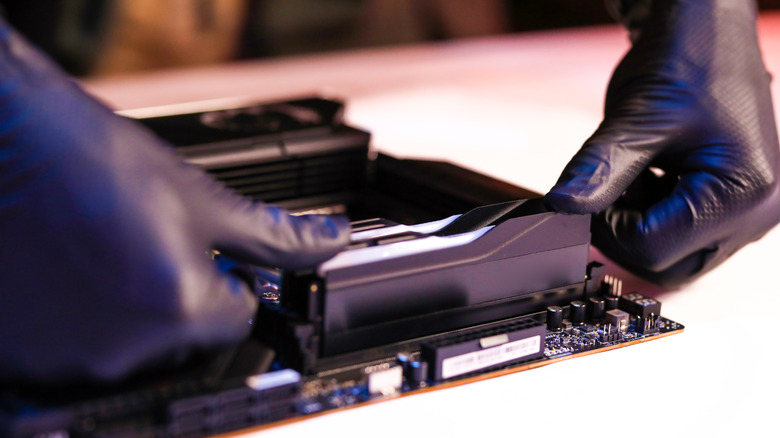
Assembly is a sensory experience. You need to use your eyes and ears to avoid common mistakes to avoid when building a pc for the first time. For instance, when installing memory, you should physically hear the click as the clips lock into place. If you do not hear it, the RAM is likely not fully seated, which is a leading cause of boot failures. Refer to your manual for the correct motherboard ram slot placement and xmp profile setup guide to ensure you are using the optimal channels for dual-channel performance.
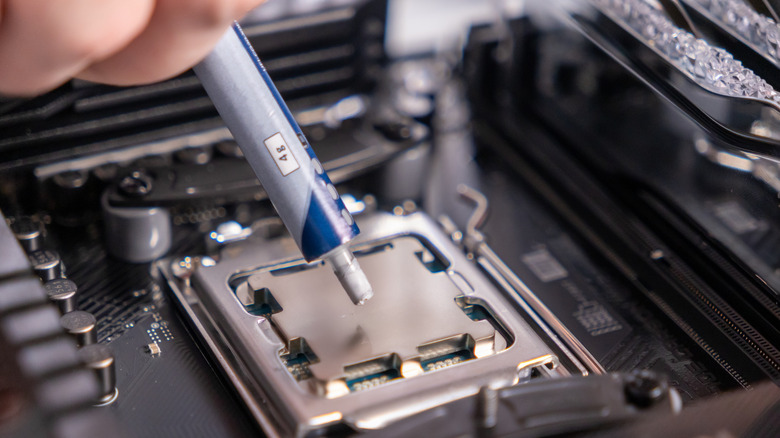
Another vital step is socket pin protection. Modern CPU sockets are incredibly fragile; never touch the pins, and always let the CPU "drop" into place under its own weight. When it comes to cooling, Heat dissipation starts with the thermal paste. Applying a pea-sized amount in the center of the CPU is generally sufficient for effective heat dissipation. And please, check the bottom of your CPU cooler for that thin plastic protective film—forgetting to remove it is one of the most common pc building mistakes I see in my inbox. Lastly, ensure you have installed the Mounting standoffs in the case before screwing in the motherboard to prevent a short circuit.
Master Your Airflow: The Science of Cooling
Good pc airflow setup is about more than just pointing fans in random directions. The goal is to create a path for cool air to enter and hot air to exit while preventing dust from settling inside. The industry standard follows a front-to-back and bottom-to-top pattern. Front and bottom fans should act as intakes, while rear and top fans should be exhausts.
To keep your system clean, you want to maintain Positive air pressure. This means having more intake fans than exhaust fans. When air pressure inside the case is higher than outside, air is forced out of the small gaps in the case, preventing dust from being sucked in. When installing, always check the fan frame for airflow direction arrows; generally, the side with the plastic "X" frame is where the air comes out. Aim for high-quality fans with a rating of at least 50 CFM and noise levels under 30dB to keep your workspace quiet.
Software First-Aid: BIOS and Drivers
Once the hardware is humming, your work is only half done. The software side is where you unlock the performance you paid for. Your first stop should be the UEFI environment. By default, high-speed RAM often runs at slower "safe" speeds. You must manually enable XMP (for Intel) or EXPO overclocking (for AMD) to hit those advertised 6000MHz+ speeds.
Following the OS installation, you need to handle essential bios and driver updates after building a pc. Do not rely on Windows Update to find everything. Go directly to your motherboard manufacturer’s website to download the latest BIOS and chipset drivers. This is especially important for 2026 hardware like Intel Ultra or Ryzen 8000 series chips, where early BIOS versions often have stability patches. Finally, visit Nvidia, AMD, or Intel to get the latest dedicated GPU drivers.
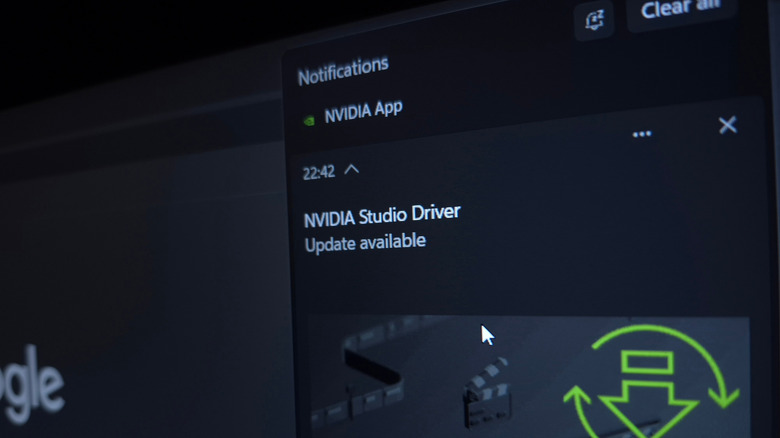
Driver Installation Priority:
- Motherboard Chipset Drivers (Crucial for CPU communication)
- Dedicated GPU Drivers (Essential for gaming and display performance)
- Audio and LAN Drivers (For stable connectivity and sound)
- Peripherals and Storage firmware (For NVMe optimization)
FAQ
What do I need to know before building my first PC?
You should understand that patience is your most valuable tool. Researching part compatibility is essential, and you should ensure you have a clean, well-lit workspace. Understanding the basics of how a computer works will help you troubleshoot if the initial boot does not go as planned.
What are the most common PC building mistakes to avoid?
The most frequent errors include forgetting to install the I/O shield before the motherboard, failing to plug in the CPU power cable (top left of the board), leaving the plastic film on the bottom of the CPU cooler, and not fully seating the RAM modules until they click.
Do I need an anti-static wrist strap for PC building?
While modern components are more resilient to static than they used to be, an anti-static wrist strap is a cheap insurance policy. If you do not have one, you can stay grounded by frequently touching the metal frame of your PC case while it is plugged into a grounded outlet (but with the power switch turned off).
What should I do first after assembling my PC?
Your first priority should be entering the BIOS to check that all your hardware—CPU, RAM, and storage—is being correctly recognized. After that, install your operating system and immediately update your BIOS and chipset drivers to ensure system stability.
How do I ensure all my PC parts are compatible?
Using online tools like PCPartPicker is the most reliable way to check for compatibility. You should also double-check the motherboard manufacturer's Qualified Vendor List (QVL) for RAM and ensure your power supply has enough wattage and the correct connectors for your specific GPU.